
I love the way these smell and they are so easy to make.
My four year old enjoyed the whole process from measuring out all the ingredients and mixing it together to painting them. She said that the smell was so yummy she wanted to eat it. I did point out it was salt not sugar that we had added to the mixture, so she refrained from eating it; it gives you an idea to how delicious they smell.
My four year old enjoyed the whole process from measuring out all the ingredients and mixing it together to painting them. She said that the smell was so yummy she wanted to eat it. I did point out it was salt not sugar that we had added to the mixture, so she refrained from eating it; it gives you an idea to how delicious they smell.
First you will need a basic salt dough recipe:
- 200ml Flour
- 200ml Salt
- 100ml Water
- Cinnamon - we added 4 teaspoons to ours (20ml) before you add the water part of the recipe but apart from that it's a case of just mix it all together, with your hands is fine and great as a sensory project.
TIP: If you aren't using your dough straight away be sure to put it in an air tight container or wrap well in cling film.
Now for the making of the ornaments. You will need:
- A rolling pin
- A baking tray
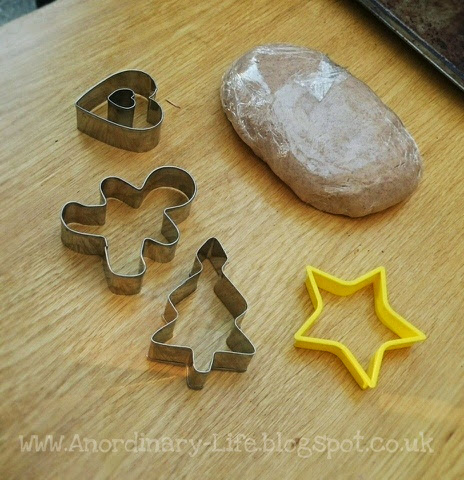
- Different Christmas shaped cookie cutters
- Food colouring is optional but can be added to small amounts to make interesting details. You may need a little extra flour if the dough becomes sticky, just a dusting.
- Paint (we used acrylics)
- Glaze (The one for fimo works great)
- String, ribbon, cotton thread or wool.
- Optional: salt
- Optional: glitter
STEP ONE
Roll your dough out. Not too thin about half a cm thick is best.
STEP TWO
Cut out the shapes as you would with cookies.
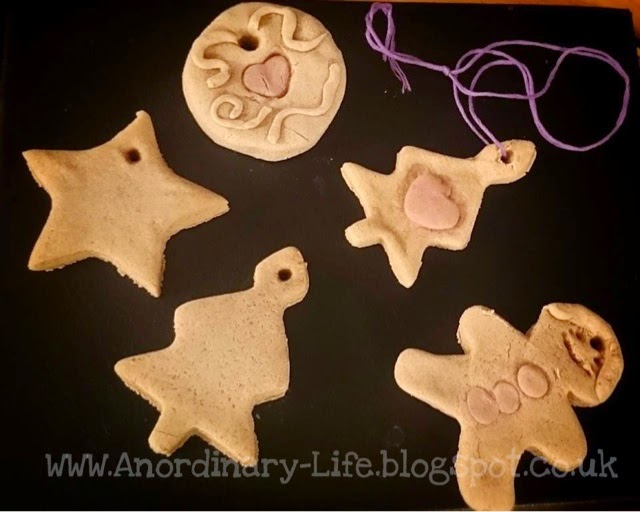
Be as creative as you like. Most of the shapes my girls chose were gingerbread men, trees and stars but there were hearts and even jammie dodger shapes!
STEP THREE
Make a hole near the top of your ornament with a pencil.
TIP: Make sure the hole is twice the size you want it to be as it will shrink during the cooking process.
STEP FOUR
Bake your ornaments at a low heat of 75 degrees C to 100 degrees C for about 4 hours. They should go nice and hard and leave a beautiful smell around the house, which is a bonus!
STEP FIVE
If you like, you can paint your ornaments. Don't forget you should use acrylics for this and it is always nice to glaze it afterwards for a shiny finish! We didn't with these two instead, for the star we sprinkled some salt over the wet paint to make it sparkly! You could, of course, sprinkle over some glitter instead!

STEP SIX
When the paint is dry, or if you choose not to paint them, thread some ribbon, string, cotton or wool that is about 10cm- 15cm long through the hole in your ornament and tie a knot in it.
You are done! Go hang it on your tree!
You are done! Go hang it on your tree!
Love this going to try this with my kids!
ReplyDeleteCool! Enjoy! :) xx
DeleteNeat idea! Thanks so much for sharing! Although...the ml will have to be converted to cups. Cuz that is what I work with. And that is lots of work! lol
ReplyDeleteThank you :) I will try to remember to put it in mls and cups for the future, I don't mind the extra maths. xx
DeleteI loved making these as a kid! I was just talking with my mom about how I need to make these with my son. Pinned!
ReplyDeleteThank you Tricia. It is a lot of fun!
Delete